ADVANCED EMAIL
Advanced Email is Bonfire CRM’s full-featured rich-text email builder. With Advanced Email, you can create attractive, attention-grabbing emails featuring buttons, pictures, social links and more. This solution must be enables by your account manager before it will be visible in the Send a Message menu.
CREATE AN ADVANCED EMAIL
To create an advanced email,
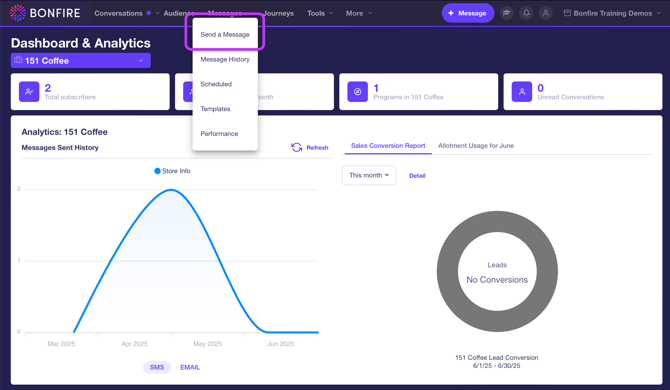
1. Go to Messages and click Send a Message to be directed to the message builder.
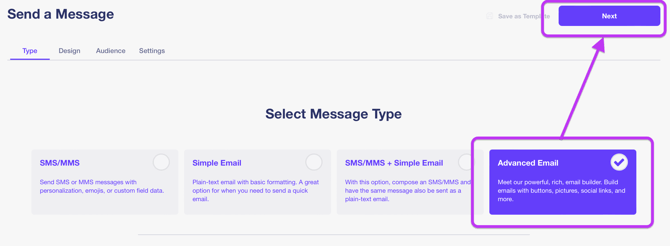
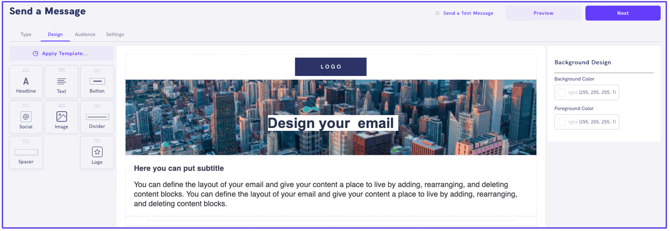
2. Select the Advanced Email message type, then click the Next button on the top-right of the screen to direct you to the Design tab to build you email.
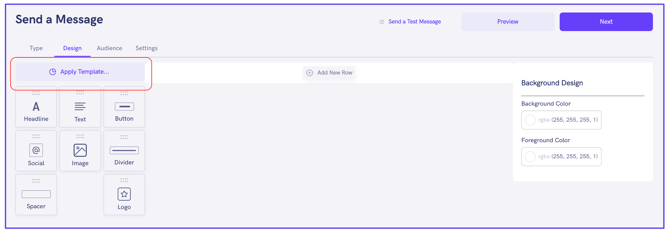
3. If you wish to use a template, click the Apply Template button on the top-left of the screen to direct you to the Select Template pop-up.
4. In the pop-up, select a template from one of the following tabs to modify the template:
-
- Custom – View all custom templates that are available.
- Default – View the default templates Bonfire CRM provides to allow you to customize with your own verbiage and images.
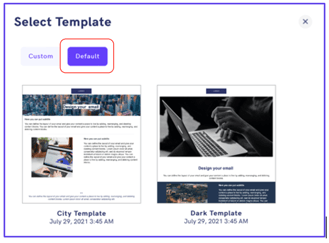
Select a template to be copied into the Advanced Email builder where you can modify the verbiage or images.
CREATE A TEMPLATE
To create an Advanced Email template,
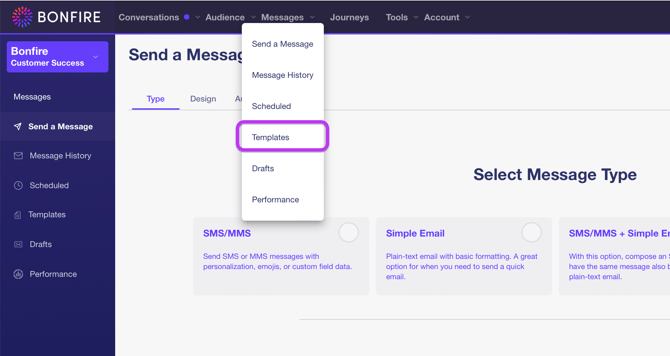
1. Go to Messages and click on Templates to be directed to the Templates page.
2. Click on the Advanced Email tab on the top of the screen, then click + New Template on the top-right of the screen to direct you to the Advanced Email builder.
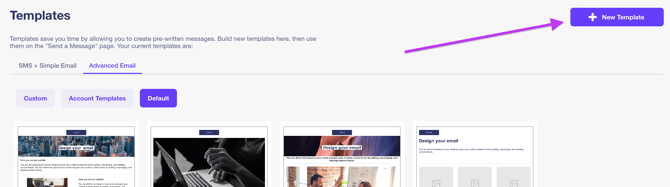
NOTE: The default templates cannot be changed.
3. This page is split into three sections.
DESIGN BLOCKS – Drag-and-drop blocks
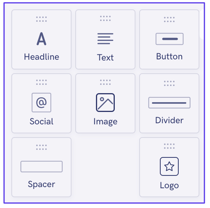
Headline – The headline is a large, bold text.

Text – Text blocks are great for adding longer paragraphs of content to your email.

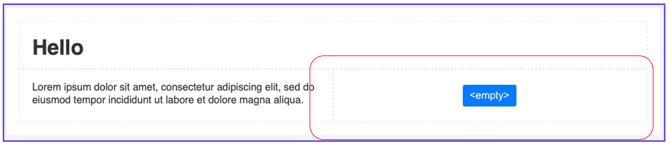
Button – Buttons are configurable buttons that link to a webpage. The default button is a blue button with no label. This can be changed by selecting the button and modifying the settings in the Settings section.
Social – Social links can be added to your email using the Social block. Use the Settings section to add individual links to Facebook, Instagram, Twitter, YouTube, Pinterest, and LinkedIn.
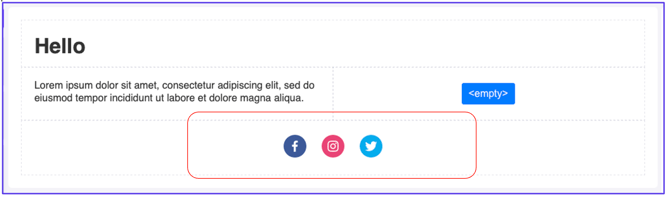
Image – The Image block allows you to upload an image into your email. Once you’ve dragged the block into a row, click on the Placeholder image and select the replace button to select your own image.
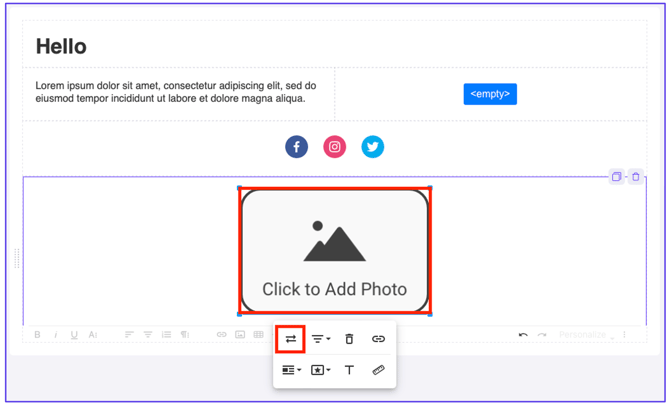
Any uploaded images are stored and easily re-accessible. Simply click on browse icon either in the Block Settingssection or when clicking the Replace button with an image selected.
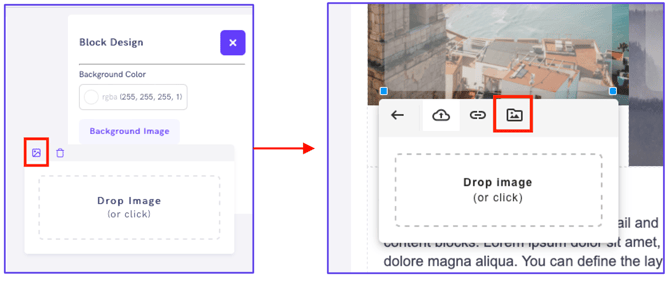
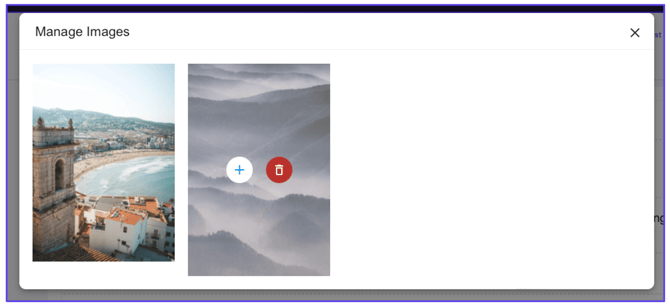
Images can be deleted or added to an email from the pop-up that appears.
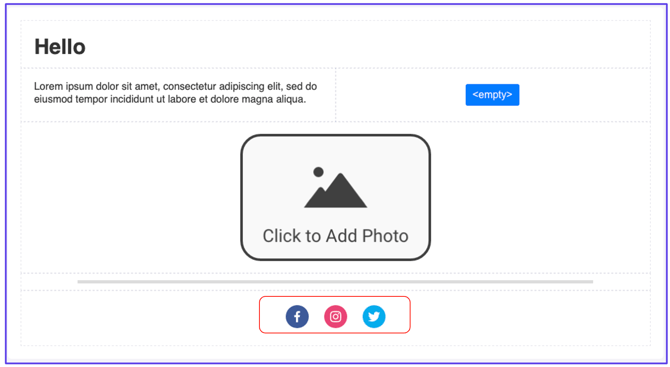
Divider – A divider block inserts a customizable line into your email. This is great for separating content, such as body content from footer content. Here we’ve moved our Social Links beneath the divider line.
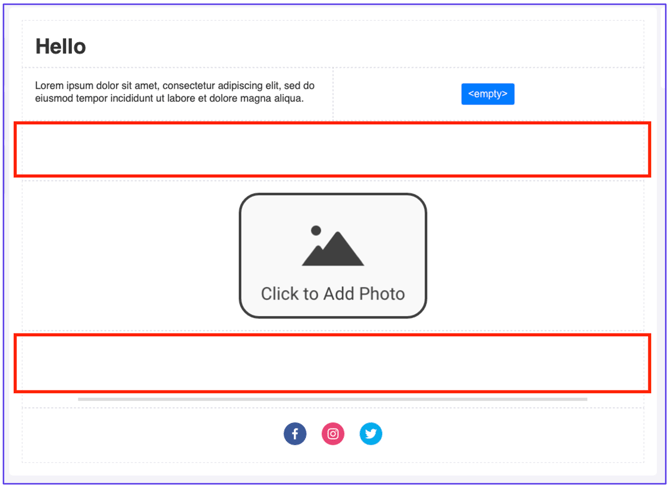
Spacer – A spacer block allows you to insert blank space into your email. This gives you greater formatting control.
Logo – The Logo block is similar to adding an Image to an email. It differs in that it automatically loads the logo image attached to the Bonfire CRM Account. If you wish to change the image, you can click on it and select the Replace option, as discussed above when placing a regular Image block. In the example below, we’ve added a Logo block to the top of our email.

CANVAS SECTION – An in-line editor that allows you to build the structure of your email using rows with differing numbers of columns. To begin, click on + Add New Row button where you will be able to create a row with 1, 2, or 3 columns.
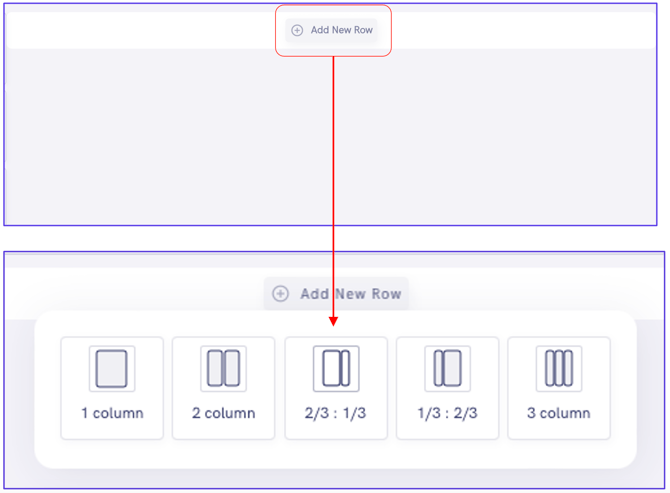
The 2-column layout offers two different weighting options either to the left or to the right. The example below is adding a 2-column row weighted to the left.

The columns with “Drop here!” allows you to drag a design block into these boxes. Clicking on the trash can icon will delete the column, effectively turning the row into a single column row. Any blocks in the column being deleted will be removed.
Hover your mouse cursor over the top or bottom of the center part of the row and click on + Add a New Row to add another row.

In the image below, a text block has been dragged into the left-most column. You will see that when you hover over the box Copy and Delete icons appear. Click on and hold the Copy button and release the mouse button when hovering over an empty block. This will create a duplicate and is a great way to move content around. You can then click the Delete button on the original Text block to delete it.

You can also move the content blocks by grabbing the dotted handle to the left of each content block.

Clicking inside a text block will show various formatting options available to you.

You can also add personalization to your emails by adding custom fields using the Personalize drop-down menu.
NOTE: Text boxes support HTML code. Simply click on the three-dot menu shown below, then click the <> icon to switch to Code View.

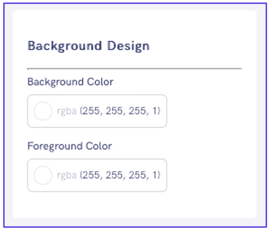
CANVAS SETTINGS – To the right-hand side of the Design tab, you will see the Settings section. When a Block is selected on the canvas, the settings shown here will be for that block. If no block is selected, the options below will be displayed. These are global color settings for the background and foreground color (all text content) of your email.
Clicking on a text block will give you specific options to alter the look of that block.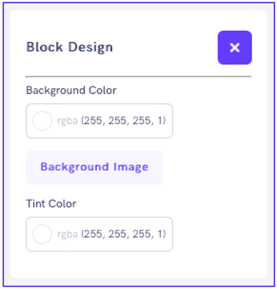
PREVIEW – Once you’re happy with how your email looks on the canvas, it is best to preview the message by clicking the Preview button on the top-right of the page.

Use the available radio buttons on the pop-up screen to view a preview of your email on different devices and screen sizes.

SEND A TEST MESSAGE – You can send a test message by clicking on the Send a Test Message button on the top-right of the screen.

Enter the email address you wish to send the test email to and click Send Test button on the bottom-right of the pop-up.

AUDIENCE
Now that we have your email ready to go, we need to decide who to send it to. Click the Save and Continue button on the top-right of the screen or click directly on the Audience tab. You will see options here that allow you to send the message to all subscribers on a program or only the subscribers you choose. Let’s click on theLet me choose who to send to radio button.
You have two options to select subscribers:
Search box – Enter the text to bring up results that span tags, stages, or other subscriber data such as names, phone numbers, and email addresses. Then, click the + button on the right of the text to add subscribers to the Recipient List.
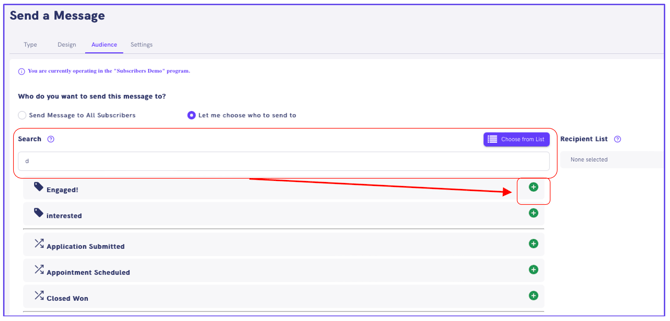
Choose from List – Click the Choose from List button to choose from a list of available tags, stages, and custom fields.

Click the Next button on the top-right of the screen to move to the Settings tab.
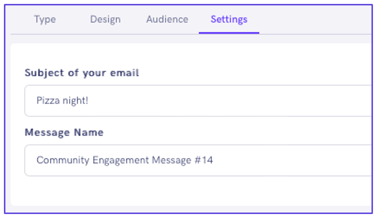
SETTINGS
The Settings tab is where you give your email a subject, an internal Message Name that can be used to filter and search for the message in the future in our Conversations and Message History pages.
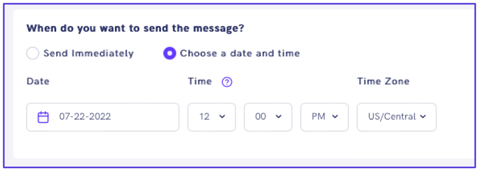
The next section on the Settings page asks you when you’d like to send the message. You can choose to send it immediately or select a date and time of your choosing.
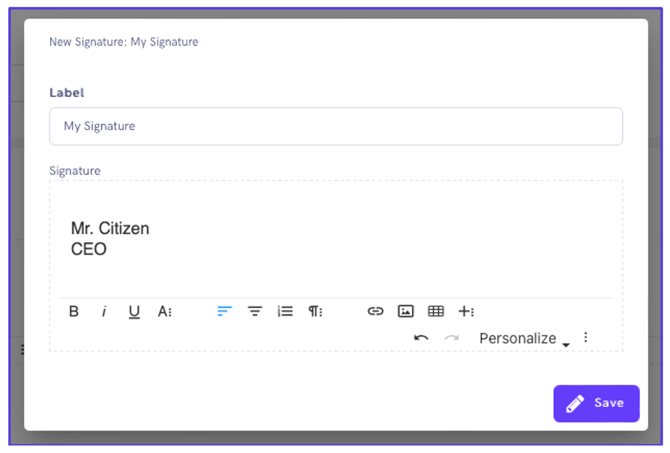
The final section on the Settings page allows you to enter a signature that will be appended to the email. You can create a signature directly in the text block provided here or click on My Signatures to create on that will be saved and made available to you when composing subsequent emails. Simply click New Signature, create your signature, and click the Save button.
You are now ready to send your message!
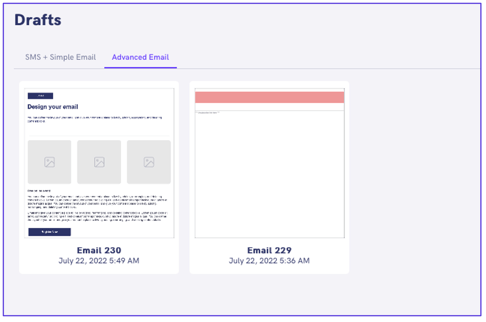
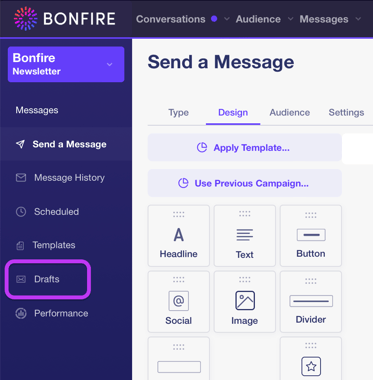
DRAFTS
If, however, you aren’t quite ready to send your email, it will be saved to the Drafts page where you can access it later. A link to the Drafts page is found in the side navigation menu of the Messages page.
Click on the Advanced Email tab then select the draft you wish to load into onto the Canvas.